How to Plaster Ytong AAC Walls: Crack-Free Plastering Guide
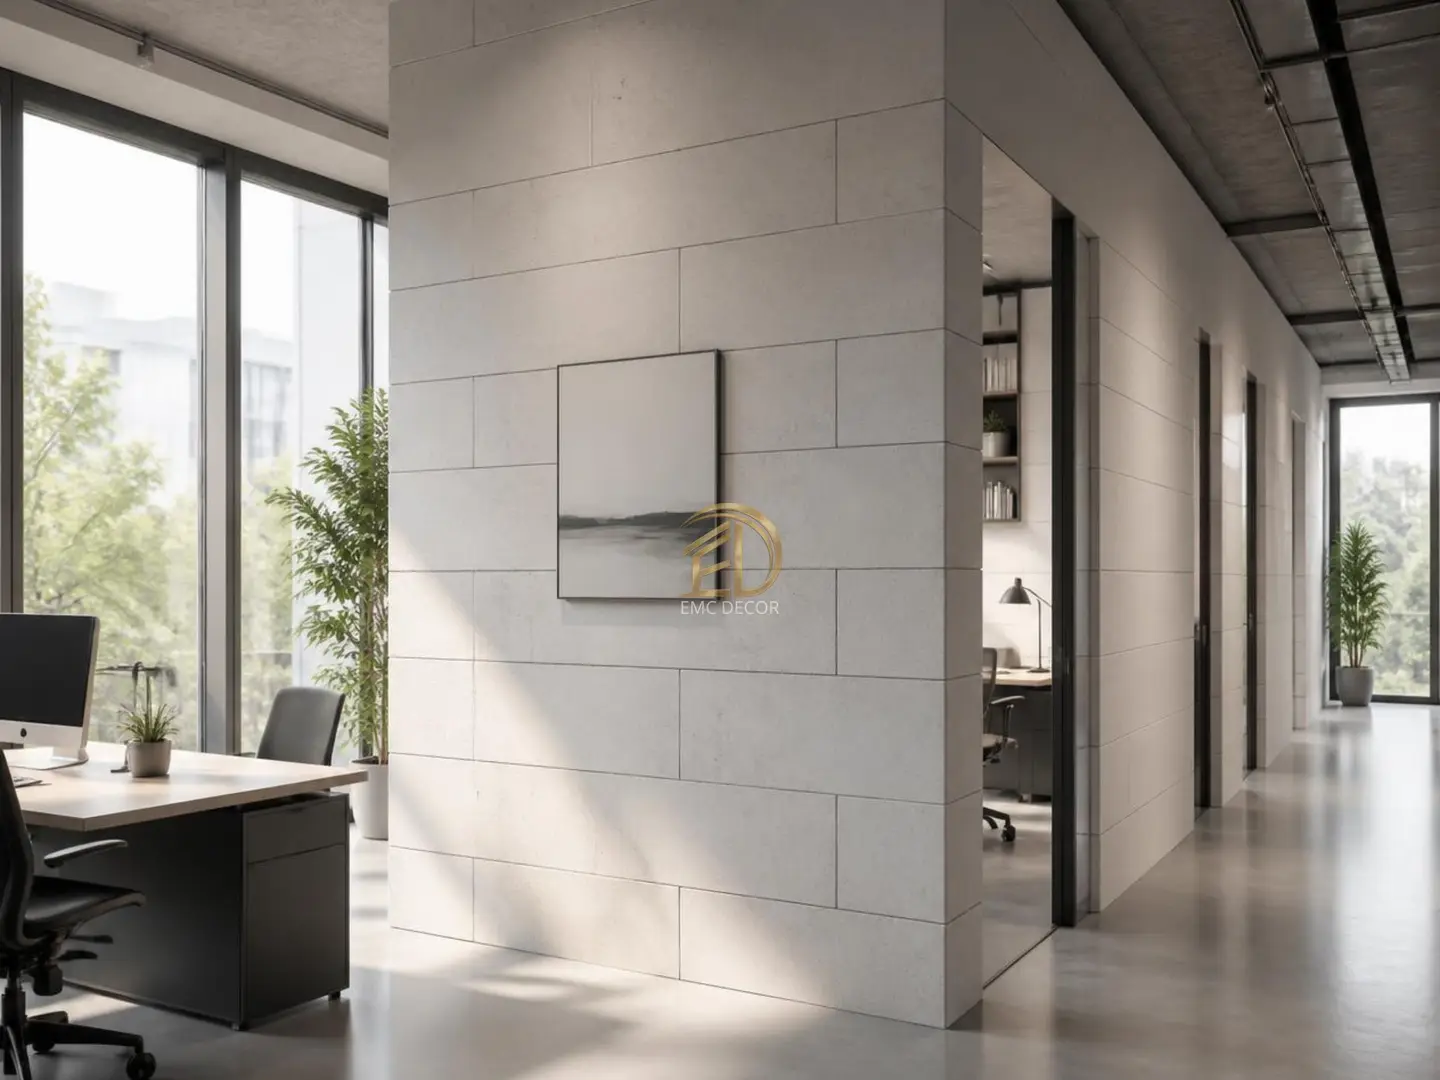
Autoclaved Aerated Concrete (AAC), commonly referred to by the brand name Ytong, is one of the most widely specified masonry wall materials across residential and commercial construction in Turkey. Its precise dimensional accuracy, lightweight structure, thermal efficiency, and ease of cutting make it a contractor favorite. However, on renovation and building sites, plaster cracking, debonding, and surface shelling on Ytong walls remain persistent quality control failures.
The smooth, level appearance of AAC blocks often creates a false sense of simplicity, leading homeowners and inexperienced tradesmen to assume that a thin layer of plaster can be quickly applied without extensive preparation. In reality, AAC is a highly porous, capillary-active substrate with an exceptionally high water absorption rate. If applied without proper substrate sealing, standard plasters lose their mixing water instantly into the wall block (a failure known as 'plaster burning'). Deprived of moisture, gypsum and cement binders fail to hydrate, losing structural integrity and developing widespread spider-web shrinkage micro-cracks.
1. Physical Characteristics & Technical Risks of Ytong AAC Walls
While AAC blocks deliver superior thermal and architectural benefits, they present three primary technical risks during plaster application:
Rapid Substrate Water Absorption ('Plaster Burning'): The open-cell porous structure of aerated concrete acts like a sponge, rapidly drawing mixing water out of fresh wet plaster. Because hydration requires water over a set period, this rapid suction starves the plaster binder. Burnt plaster fails to bond, chalks upon touch, and cracks as it dries.
Differential Thermal & Moisture Movement at Junctions: In reinforced concrete frame buildings across Istanbul, AAC walls abut monolithic concrete columns and beams. Concrete and AAC possess vastly different coefficients of thermal expansion and moisture movement. If reinforcing mesh is omitted across these structural junctions, building settlement and thermal cycling produce deep vertical and horizontal cracks along seam lines.
Surface Dust & Friable Laitance: Cutting AAC blocks generates microscopic dust that clings to the wall face. If this friable dust is not swept and sealed, it acts as a bond breaker, causing plaster coats to delamination over time.
2. Step-by-Step Crack-Free Ytong Plastering Standards
Achieving a smooth, durable, and crack-free wall finish requires that [professional plastering services](/en/services/skim-coat-and-plaster) adhere strictly to a systematic application protocol:
Step 1: Substrate Cleaning & Suction Control (Pore-Sealing Priming)
Sweep the wall thoroughly to remove loose dust, mortar laitance, and debris. Fill service chases (chases cut for conduit or pipework) and deep spalls with compatible AAC repair mortar at least 24 hours prior to main plastering. Apply a high-performance suction-control primer (e.g., Knauf Aufbrennsperre or dedicated AAC primer) diluted strictly according to manufacturer specifications to seal substrate pores.
Step 2: Reinforcing Structural Junctions & Dissimilar Joints
Span all junctions between AAC masonry and reinforced concrete columns, beams, or terracotta brickwork with an alkali-resistant glass-fiber mesh (minimum 160 g/m² density). The mesh must overlap both sides of the joint by at least 10–15 cm and be embedded into the outer third of the wet basecoat plaster, never pinned dry directly onto the bare blockwork.
Step 3: Plaster Beads, Corner Trim & Screed Datum Installation
Install galvanized or aluminum angle beads on all external corners plumb to ensure impact resistance and sharp architectural lines. Set vertical screed datum strips using a cross-line laser level to guarantee absolute flatness.
Step 4: Mortar Mixing & Application
For interior dry areas, specify hand- or machine-applied gypsum plaster formulated specifically for aerated concrete substrates. Always add powder into clean water, mixing with an electric paddle. Adding water or powder after mixing disrupts setting physics. Apply plaster to the required thickness (typically 10–20 mm) and rule off with a Darby straightedge.
Step 5: Trowel Finishing & Controlled Curing
As the plaster begins to set, sponge-float the surface with clean water to draw up laitance, then burnish with a stainless steel trowel to achieve a smooth, paint-ready finish. Protect the room from aggressive draughts or forced heating blowers for the first 72 hours to prevent rapid drying micro-cracks.
| Plaster Type | Application Area | Minimum Thickness | Substrate Primer Requirement | Reinforcing Mesh Requirement | | :--- | :--- | :--- | :--- | :--- | | Interior Gypsum Plaster | Living & Office Interior Walls | 10 mm | Suction-Control Primer | Mandatory over Concrete-AAC junctions | | Cement/Mineral Plaster | Bathrooms & Wet Zones | 15 mm | Bonding Key Primer | Mandatory across full surface or junctions | | Exterior Facade Plaster | External AAC Envelope Walls | 5 mm (2 Coats) | Exterior AAC Primer | Full-surface 160 g/m² mesh embedment |
3. Interior vs Wet Area (Bathroom) Plaster Specification
When plastering Ytong walls, interior dry living spaces and wet areas (bathrooms, wet rooms, saunas) require distinct material formulations:
Dry Living Zones: Breathable, humidity-regulating gypsum plaster systems deliver a ultra-smooth base for decorative paints.
Wet Zones: Gypsum is moisture-sensitive. On bathroom Ytong walls, specify cementitious or hydraulic lime plasters combined with elastomeric waterproofing membranes prior to tiling.
4. On-Site Handover Quality Checklist for Property Owners
Inspect these 5 critical execution checkpoints on site during AAC wall plastering:
[ ] Was a suction-control primer applied to the bare AAC blocks before plastering?
[ ] Is reinforcing mesh embedded across all concrete column and beam junctions?
[ ] Are protective metal corner beads installed on external wall corners?
[ ] Were electrical and plumbing chases filled with repair mortar prior to plastering?
[ ] Are windows closed to protect fresh plaster from rapid drying draughts?
Combining proper priming, joint reinforcement, and skilled application ensures Ytong walls deliver a lifelong, flawless structural finish.
EMC Decor Project Team
Prepared from site practice, manufacturer technical sheets and project-planning notes. Final system selection must be assessed for the conditions of each property.